Why the view differs from a photograph
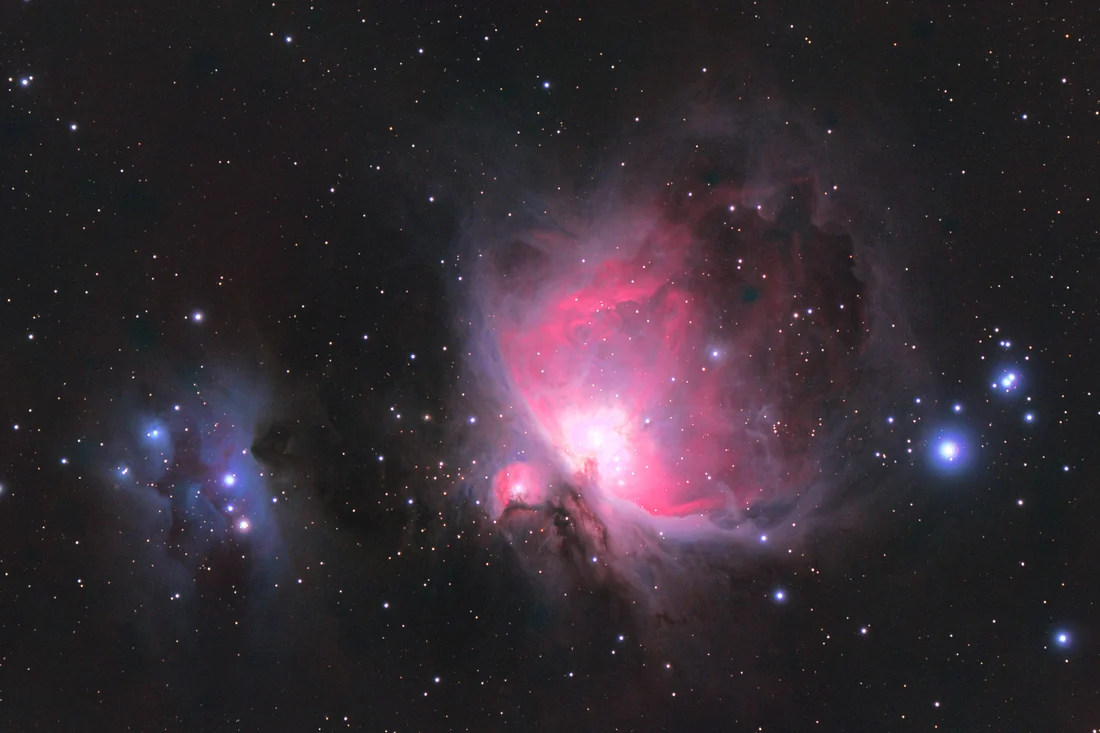
A camera can collect light during a long exposure, and a finished image may combine many exposures. Some astronomical images also assign colors to filtered data. These techniques can reveal colors and faint structure that look much subtler at the eyepiece. [VIEW-COLOR] [AST05]
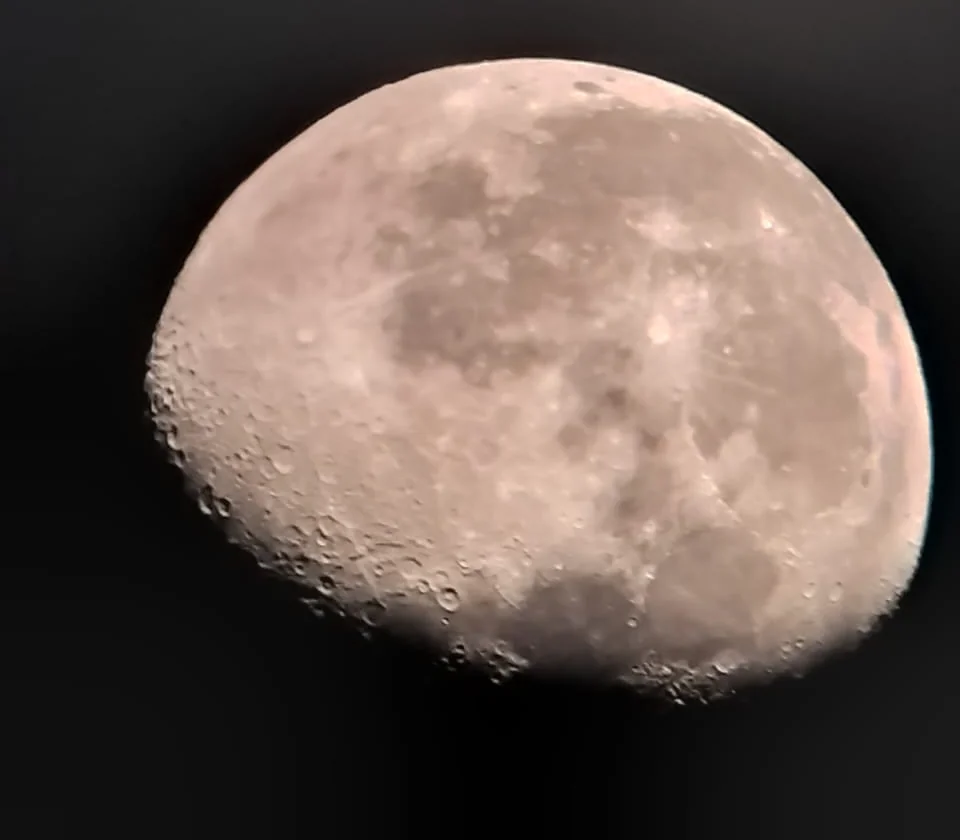
The photographs below identify targets. They are camera images, not simulations of your eyepiece view.
The Moon: craters, mountains and shadows
The Moon is a good place to start. Look for crater rims, mountain ridges and changes in texture across the surface. Along the terminator, the boundary between lunar day and night, long shadows help features stand out. [VIEW-MOON-TIPS]
A full Moon isn't automatically the best phase for surface detail. Try another phase, then revisit: changing illumination reveals different features. How much detail you resolve still depends on the telescope and conditions. [VIEW-MOON-TIPS]

Planets: recognizable features in a small image
Jupiter's larger moons can appear as points beside the planet, and its cloud bands are possible targets. Saturn's rings are another classic telescope sight. Expect to look closely at a small image rather than a giant close-up filling your view. [AST04] [VIEW-COLOR]
Check a current sky guide before planning a session. The planets aren't all well placed for viewing every night; a target list from another month may be no help. [AST04]
Some planetary color is visible; faint deep-sky targets are more likely to look gray. [VIEW-COLOR]
Star clusters, galaxies and nebulae
Open star clusters offer groups of individual stars rather than a single faint patch. A wide cluster may need low power to fit comfortably in the field. Don't assume the highest magnification is the most interesting view. [AST04] [C05]
Galaxies and nebulae ask more of the sky and observer. In a small telescope, many appear as faint gray patches or subtle shapes. Recognizing an object is different from seeing the structure and color in its photographs. Some targets may remain invisible from a bright site. [VIEW-COLOR] [AST04]
A darker location can make faint objects easier to see. More advertised power doesn't remove light pollution. [AST04]

What makes the biggest difference?
| Factor | What it changes |
|---|---|
| Aperture | Larger optics collect more light and can reveal fainter objects; sky conditions still matter. |
| Sky brightness | Artificial sky glow hides faint stars and washes out weak features. |
| Seeing | Unsteady air blurs fine detail, even on a clear night. |
| Setup | Focus, mirror alignment where required, cooling and a steady mount affect clarity. |
These factors work together. A clear sky can still have poor seeing. Increasing magnification then enlarges the disturbance as well as the target. Back off when extra power stops improving the image. [AST04] [VIEW-COLOR] [C05]
Try a real view before you buy
A public astronomy-club night is a useful reality check. Ask to look at the targets that interest you, then consider whether you would enjoy setting up and using that equipment. NASA's skywatching guidance points to local clubs' public viewing nights. [AST04]
Ready to choose? Our telescope guide covers the complete setup. For a simpler start, read binoculars for stargazing.
This guide covers nighttime targets. Never point an unfiltered telescope at the Sun; eclipse glasses do not make that safe. [SAFE01]
Have a telescope but cannot get a target into view? Our first-night target-finding checklist starts with finder alignment and low-power aiming.