1. Check where you can actually look
Set up on a firm surface, following the mount’s assembly instructions. Check the view from the telescope’s position: a balcony roof, railing or tree can block a target that looks reachable on your phone. A sky map shows the sky, not your surroundings. [AST04]
Keep the telescope and finder well away from the Sun during daytime practice. Never look at the Sun through unfiltered optics; eclipse glasses behind a telescope do not make it safe. [SAFE01]
2. Make the finder and telescope agree
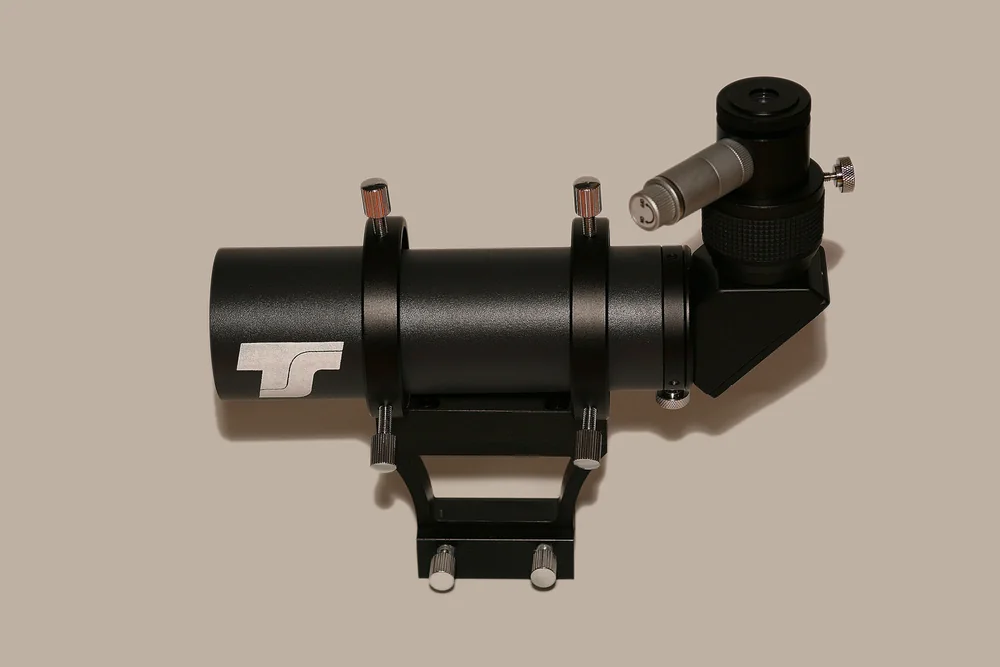
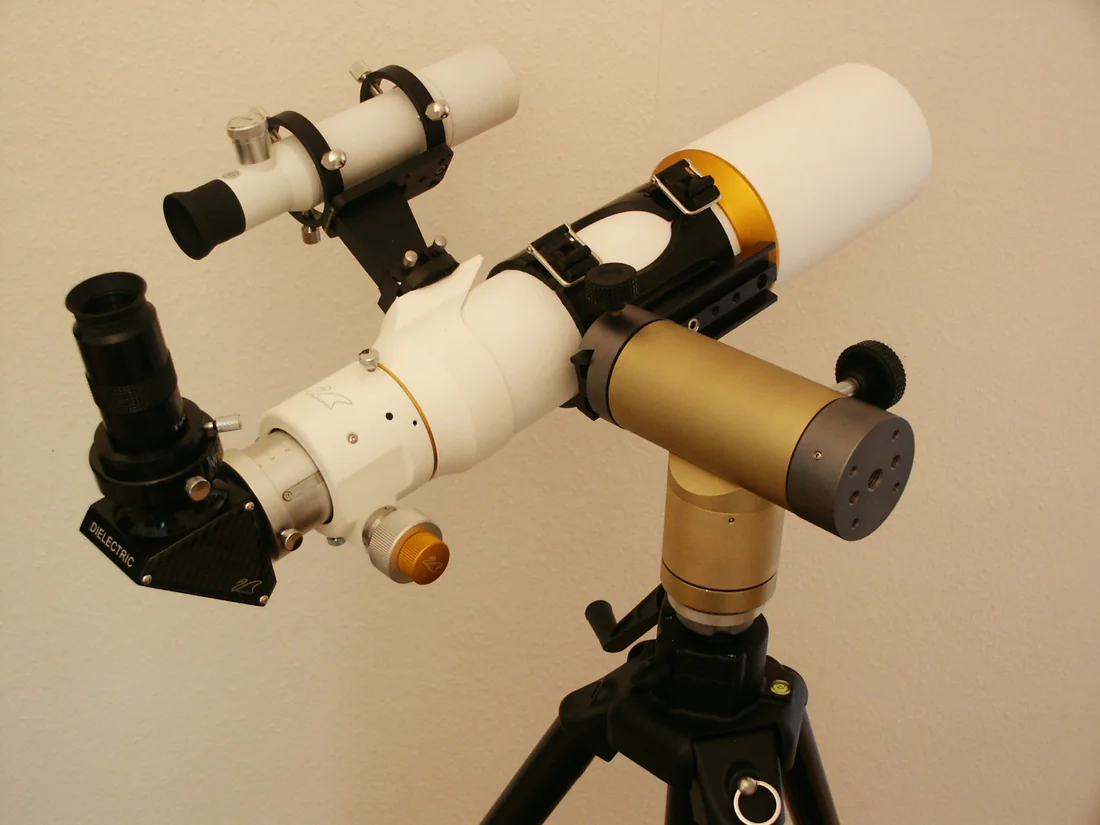
Use the exact manual for your finder and mount. The usual starting point is a distant, stationary landmark safely away from the Sun:
- Fit a suitable low-power eyepiece. On the same telescope, a longer eyepiece focal length gives less magnification.
- Center the landmark in the main telescope and bring it into focus.
- Without moving the main tube, adjust the finder’s dot or crosshairs onto that same landmark.
- Aim elsewhere, then return using the finder and check the eyepiece again. [FIND-NEXSTAR-MANUAL]
Use only the controls identified in your manual. Don’t loosen random screws or force a powered mount by hand.

3. Find one easy nighttime target
Try the Moon when it is up and unobstructed, or a bright star you can identify. Check a current sky map for your location, date and time. Save faint galaxies for later. [AST04]
Start at low power, center the target with the finder, then look through the main eyepiece and refocus. Daytime focus will usually need adjustment for the sky. Only change to higher power after the target is centered; return to low power when searching again. [FIND-SSE-MANUAL]
4. Use a short star-hop
For a manual telescope, find a recognizable bright star near your target on a chart. Match the surrounding star pattern, then move in small steps toward the target, checking each step. This is star-hopping. If you lose your place, return to the known star rather than sweeping randomly. [FIND-SSE-MANUAL]
The eyepiece view may be rotated or mirror-reversed. Learn which way the stars move with a small, permitted mount adjustment; don’t assume screen-left means eyepiece-left. [C04]

5. Match the steps to your pointing system
| Setup | What to do before searching |
|---|---|
| Manual | Align the finder; use a chart and the mount’s intended controls. |
| Phone-guided manual | Complete the app’s phone-to-telescope alignment, then move the telescope yourself as directed. |
| Motorized GoTo | Check power, location, date, time and required time-zone/daylight-saving settings; complete the specified sky alignment. |
Finder alignment and computerized sky alignment are separate jobs. Follow your model’s routine; a target selected on a phone does not necessarily make a mount move. [FIND-NEXSTAR-MANUAL] [FIND-SSE-APP] [PT03]
6. Still seeing nothing? Reset the basics
Check the lens caps, an installed eyepiece, the clear line of sight and low power. Recheck finder alignment on an obvious target. If you see a large blurred disk, adjust focus slowly; if controls bind or nothing reaches focus, stop and consult the manual or supplier. [FIND-NEXSTAR-MANUAL] [FIND-SSE-MANUAL]
Stars visible but no faint target? That can be a visibility problem rather than a pointing fault. See what a telescope can show. For mount and control choices, use the telescope guide.